The discovery that your charming Victorian home or mid-century modern treasure might contain asbestos creates an immediate sense of dread that goes far beyond typical home maintenance concerns—suddenly you’re confronting a material that dominated construction for nearly a century but is now recognized as a serious health hazard capable of causing devastating lung diseases including mesothelioma, asbestosis, and lung cancer. The unsettling reality is that millions of American homes built before the 1980s contain asbestos in various forms, from insulation and floor tiles to roofing materials and textured ceiling finishes, where it remains relatively harmless when undisturbed but becomes potentially deadly when renovation work, deterioration, or damage releases microscopic fibers into the air you breathe.
Unlike lead paint or mold that announce themselves through visible evidence, asbestos hides in plain sight, appearing identical to non-hazardous materials and requiring laboratory analysis for definitive identification—making knowledge about where asbestos commonly appears, when professional asbestos testing becomes necessary, and how to safely manage these materials essential information for anyone living in or considering purchasing an older home.
Understanding Asbestos and Its Historical Use
Before learning to identify asbestos, understanding why it was so widely used and when its use declined helps homeowners assess their properties’ likelihood of containing these hazardous materials.
The Asbestos Era in Construction
Asbestos enjoyed widespread use in construction from the early 1900s through the late 1970s, with peak usage occurring between 1930 and 1980. Builders and manufacturers prized asbestos for its exceptional properties including fire resistance, insulation capabilities, tensile strength, and chemical resistance that made it seem like a miracle material for countless applications. The construction industry incorporated asbestos into literally thousands of products including insulation, roofing materials, floor tiles, cement products, pipe wrapping, and decorative finishes.
Regulatory Changes and Phase-Out
The gradual recognition of asbestos health hazards led to increasingly restrictive regulations beginning in the 1970s, with the Environmental Protection Agency banning most asbestos-containing products by 1989. However, these regulations didn’t require removal of existing asbestos materials, meaning homes built before the mid-1980s likely contain asbestos in various forms. Even some products manufactured into the 1990s contained asbestos, making construction date an imperfect predictor of asbestos presence.
Health Risks and Exposure Pathways
Asbestos becomes hazardous when fibers become airborne and are inhaled into lungs, where they lodge in tissue and cause progressive damage over decades. Intact, undisturbed asbestos materials pose minimal immediate risk, but deterioration, renovation work, or damage can release dangerous fiber concentrations. The latency period between exposure and disease development often spans 20-50 years, making the connection between exposure and illness difficult to establish while emphasizing the importance of prevention.
Common Asbestos Locations in Older Homes
Asbestos appears in predictable locations throughout older homes, with certain materials and applications presenting higher likelihood of asbestos content than others.
Insulation Materials
Vermiculite attic insulation, particularly the Zonolite brand manufactured until 1990, frequently contains asbestos contamination from the Libby, Montana mine that supplied much of North America’s vermiculite. This pebble-like insulation appears as gray-brown or silver-gold lightweight material that resembles small stones or Grape-Nuts cereal. Pipe and boiler insulation in older homes often contains asbestos in white or gray wrapping materials that may appear corrugated or smooth. Wall and ceiling insulation in homes built before 1980 may contain loose-fill asbestos or asbestos-containing batts.
Roofing and Siding Materials
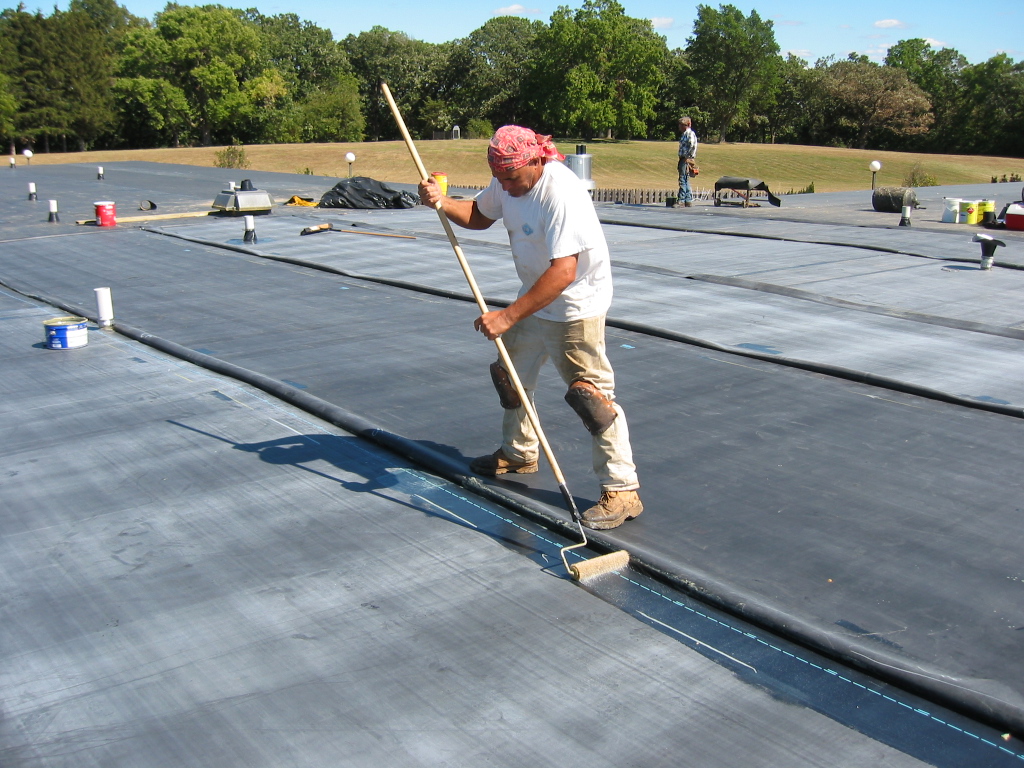
Asbestos cement shingles on roofs and siding were extremely common from the 1920s through 1970s, appearing as flat or corrugated panels in various colors. These rigid shingles often exhibit a slightly textured surface and may show weathering or cracking that exposes fibrous interiors. Roofing felt, adhesives, and flashing materials from this era also frequently contained asbestos. The durability of these materials means many remain in service today, often covered by newer roofing layers rather than removed.
Flooring Systems
Vinyl floor tiles manufactured before 1980, particularly 9×9 inch and 12×12 inch tiles, commonly contained asbestos for strength and fire resistance. The backing paper on vinyl sheet flooring, mastic adhesives securing tiles, and underlayment materials also frequently contained asbestos. These materials often remain hidden under newer flooring layers, creating exposure risks during renovation projects that disturb multiple flooring generations.
Textured Surfaces and Finishes
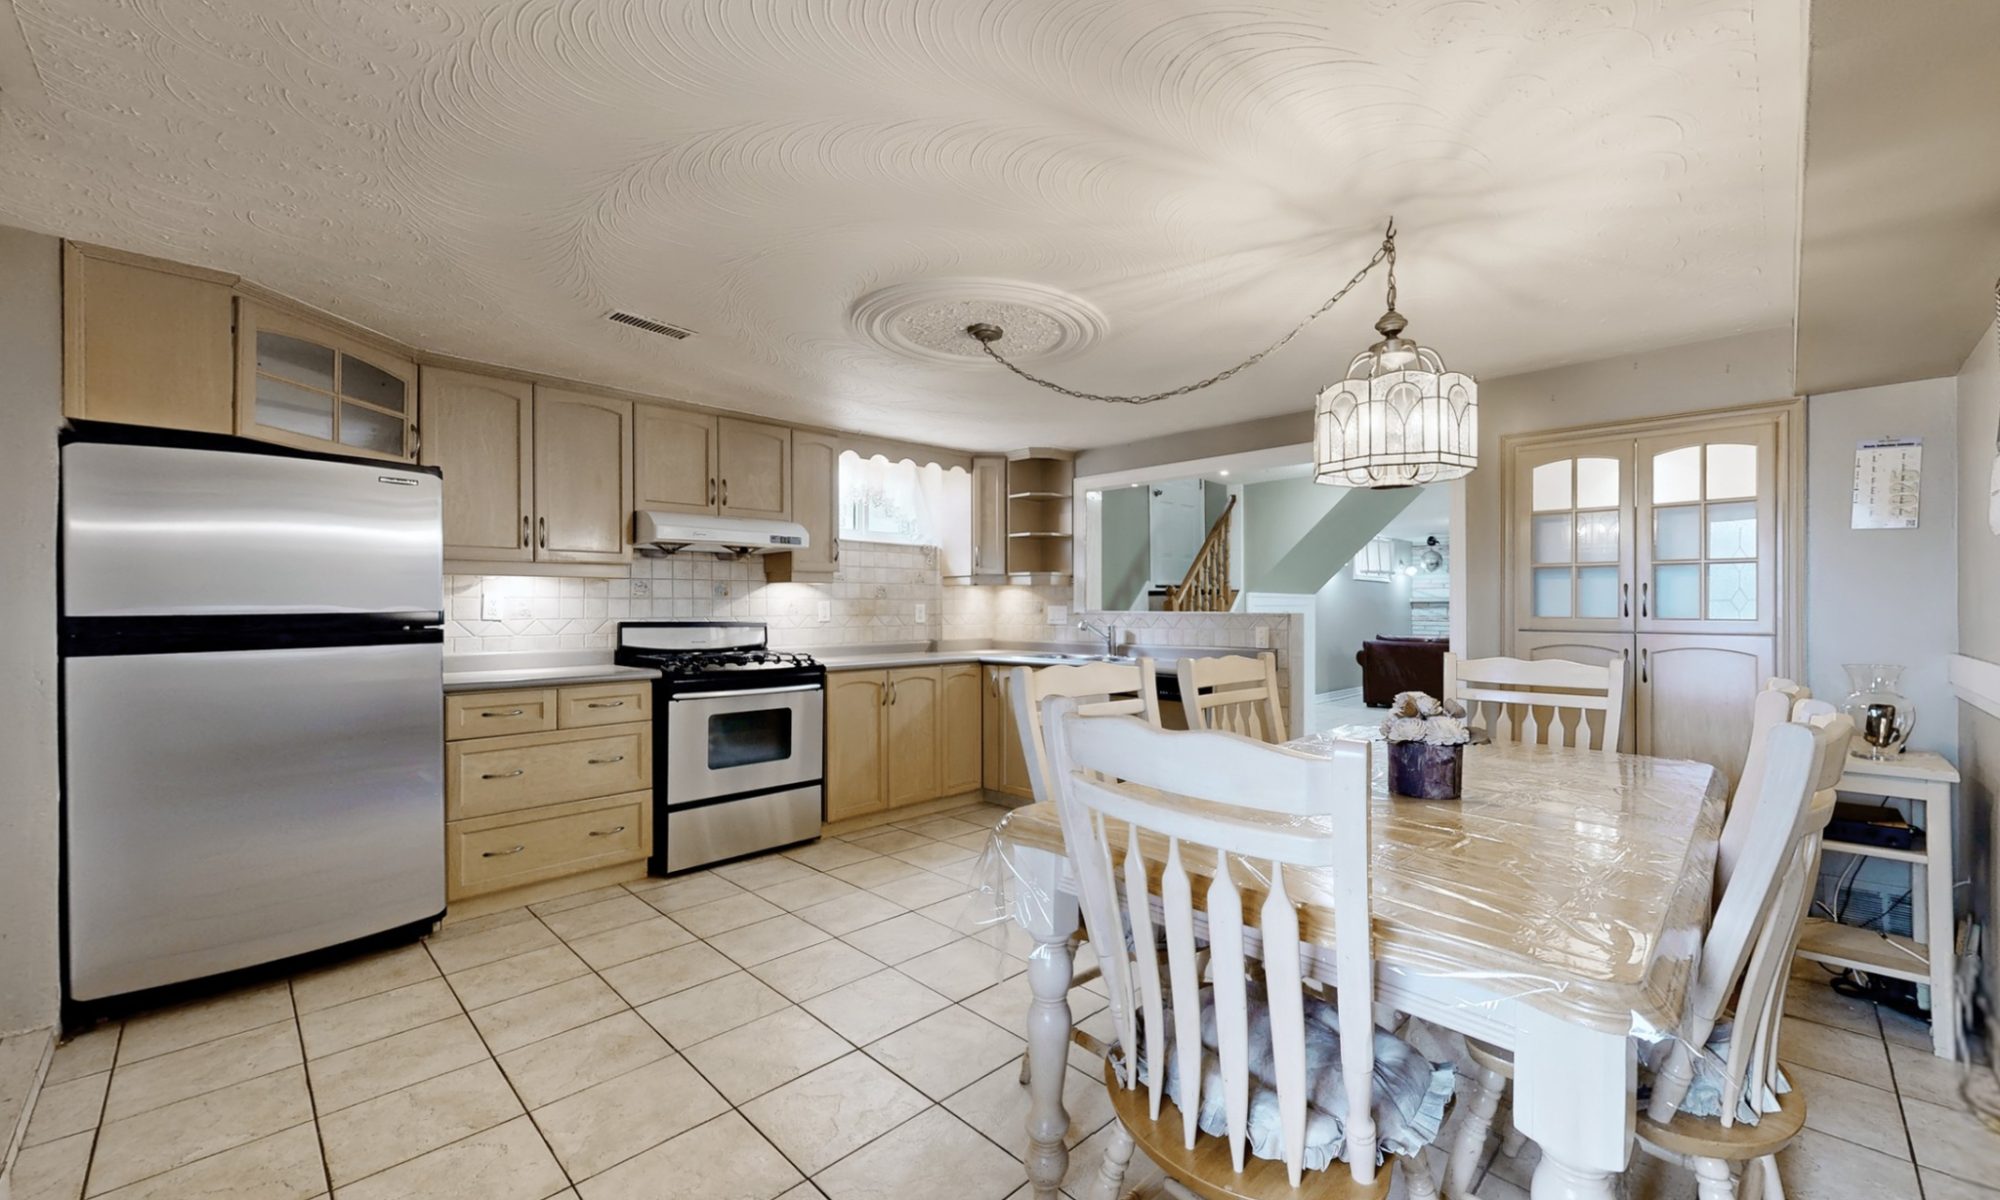
Popcorn ceilings and textured wall finishes applied before the mid-1980s frequently contained asbestos for fire resistance and texture. These materials appear as bumpy, cottage cheese-like ceiling finishes or swirled wall textures that were extremely popular during the 1950s-1970s. Joint compounds used in drywall finishing may also contain asbestos, particularly in homes built before 1980.
Other Common Locations
Asbestos appears in numerous other locations including furnace ducts and duct tape, gaskets around wood-burning stoves, artificial fireplace logs and embers, cement panels around fireplaces and wood stoves, door gaskets in furnaces and ovens, and heat-resistant fabrics including ironing board covers and hot pads. HVAC systems in older homes may contain asbestos in ductwork insulation, furnace cement, and tape materials.
Visual Identification Limitations
While certain visual characteristics suggest possible asbestos content, definitive identification requires professional laboratory testing—appearance alone cannot confirm or rule out asbestos presence.
Materials That May Contain Asbestos
Fibrous insulation materials appearing fluffy, crumbly, or dusty may contain asbestos, particularly white or gray materials showing deterioration. Rigid cement-based products including shingles, siding, and panels manufactured before 1980 should be suspected of containing asbestos. Resilient flooring materials from this era, particularly vinyl tiles and sheet goods, warrant suspicion. Textured ceiling and wall finishes applied before the mid-1980s frequently contain asbestos.
Deterioration and Damage Warning Signs
Materials showing crumbling, flaking, or powdering indicate deterioration that may be releasing asbestos fibers if the material contains asbestos. Water damage, physical impact, or wear from normal use can disturb asbestos-containing materials and create exposure risks. Visible damage to suspected asbestos materials should prompt immediate professional assessment rather than DIY investigation or attempted repairs.
Why Visual Identification Fails
Asbestos-containing materials appear virtually identical to non-asbestos alternatives, making visual identification unreliable. Manufacturers produced both asbestos and non-asbestos versions of many products during transition periods, meaning identical-appearing materials from the same era may or may not contain asbestos. Only laboratory analysis using polarized light microscopy or transmission electron microscopy can definitively identify asbestos presence and concentration.
When Professional Testing Becomes Necessary
Certain situations require professional asbestos testing to protect health and ensure regulatory compliance during renovation or maintenance activities.
Pre-Renovation Assessment Requirements
Any renovation, remodeling, or demolition work in homes built before 1990 should include asbestos testing of materials that will be disturbed. This testing protects both occupants and workers while ensuring compliance with environmental regulations governing asbestos handling and disposal. Many states and municipalities require professional asbestos surveys before issuing renovation permits for older buildings.
Suspected Material Deterioration
Crumbling, damaged, or deteriorating materials suspected of containing asbestos warrant immediate professional testing and assessment. Deteriorating asbestos materials release fibers that create ongoing exposure risks requiring professional remediation rather than DIY repairs. The cost of professional testing pales compared to health risks from asbestos exposure or regulatory penalties for improper handling.
Home Purchase Inspections
Buyers purchasing homes built before 1990 should consider asbestos testing as part of due diligence, particularly when planning renovations or when obvious suspect materials are present. Professional asbestos surveys identify materials requiring special handling, inform renovation planning, and provide documentation supporting property value negotiations when extensive asbestos remediation may be required.
Post-Disaster Assessment
Fires, floods, earthquakes, or other disasters that damage older homes may disturb asbestos-containing materials and create exposure risks. Professional assessment after significant damage helps identify necessary precautions and remediation before cleanup and reconstruction begin.
Professional Testing and Assessment Process
Professional asbestos testing follows standardized protocols ensuring accurate identification while minimizing disturbance of potentially hazardous materials.
Qualified Inspector Selection
Choose certified asbestos inspectors holding appropriate state licenses and accreditation from organizations like the American Council for Accredited Certification. These professionals possess training in sample collection, safety protocols, and building assessment that ensures accurate testing without creating unnecessary exposure risks. Verify inspector credentials and insurance coverage before allowing sampling work.
Sampling and Laboratory Analysis
Professional inspectors collect small samples from suspected materials using techniques that minimize fiber release, then submit samples to accredited laboratories for microscopic analysis. Laboratory results identify asbestos presence, fiber type, and concentration percentages that inform risk assessment and remediation planning. Reputable inspectors provide detailed written reports including sample locations, laboratory results, and recommendations for managing identified asbestos materials.
Cost Considerations
Professional asbestos testing typically costs $400-800 for residential properties, with pricing varying based on home size, number of samples required, and regional labor rates. While this represents a significant expense, the investment provides essential information protecting health while supporting informed decisions about material management and renovation planning.
Safe Management of Asbestos Materials
Once asbestos materials are identified, appropriate management strategies balance health protection with practical considerations and regulatory requirements.
Leave Undisturbed When Possible
Intact, undisturbed asbestos materials in good condition often pose minimal immediate risk and may be safely left in place with periodic monitoring for deterioration. This approach, called “operations and maintenance,” proves most cost-effective when materials aren’t damaged and no renovation work is planned. Document asbestos locations and condition through photographs and written records, informing household members and future contractors about asbestos presence.
Professional Remediation Requirements
Damaged asbestos materials or those requiring removal for renovation projects demand professional remediation by licensed asbestos abatement contractors. These specialists possess training, equipment, and expertise for safely removing or encapsulating asbestos materials while protecting occupants and complying with environmental regulations. Never attempt DIY removal of identified asbestos materials regardless of quantity or location.
Encapsulation and Containment
Some situations allow encapsulation where professionals seal asbestos materials with specialized coatings that prevent fiber release. This approach costs less than removal while effectively managing exposure risks when materials are stable and not requiring removal for other reasons. Encapsulation requires periodic inspection ensuring coating integrity remains intact.
Identifying asbestos in older homes requires understanding where these materials commonly appear, recognizing when professional testing becomes necessary, and knowing how to safely manage identified asbestos through appropriate professional services. While asbestos presence understandably concerns homeowners, proper identification and management through qualified professionals transforms this hazard from a frightening unknown into a manageable situation that protects both health and property values. The key lies in respecting asbestos dangers while avoiding panic—most asbestos situations can be safely managed through appropriate professional intervention without requiring immediate emergency response or prohibitive expense.


